I had a need for a heated chamber for my ender 3, an enclosed area that I could filter the air for my resin printing projects, and a well lit station I could do soldering and other detailed work in. I thought that I could combine all three in one cabinet with room for later upgrades. This project is a work in progress, and still has a way to go, but is interesting enough to talk about.
After I designed the set up in cad, I then went to the local building center and ordered x4 8×4 sheets of OBD to be delivered. All I can say of this process is that if you have the ability to haul your own material, you should not let others pick it for you. One of the sheets was warped about an inch when laid flat. I figured that I could use that sheet in a way that would put weight on the deformation and flatten it out, and the combination of wood screws and gluing had a significant effect in keeping it rigid.
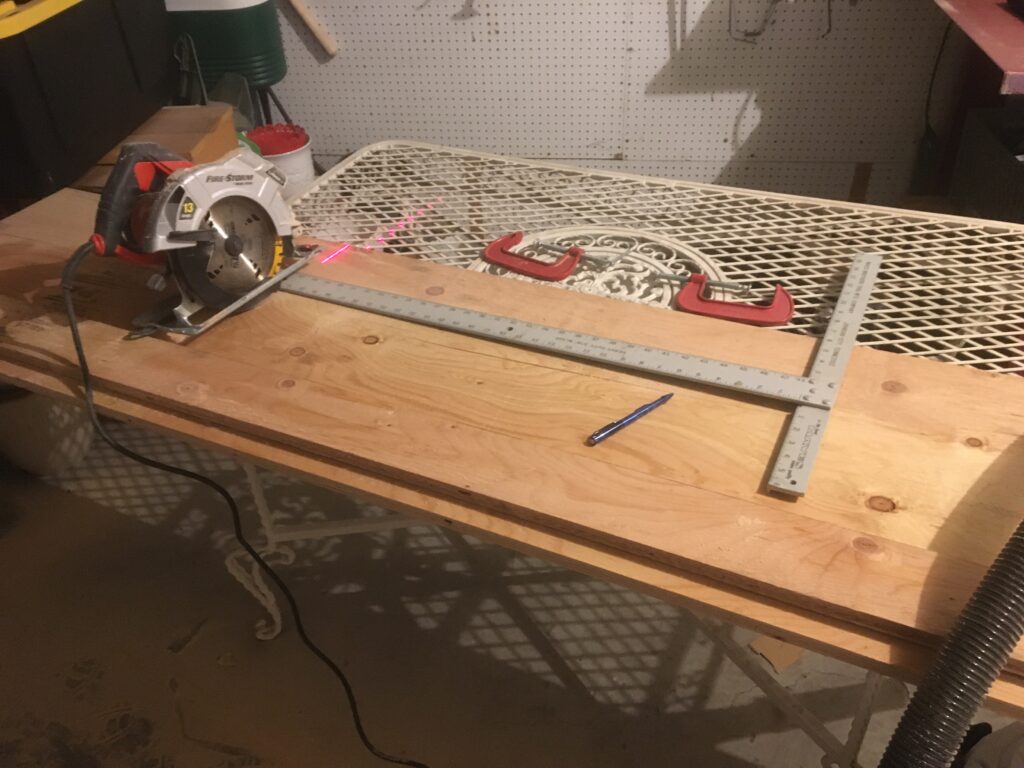
I cut and built all of the cabinet using the most basic tools. No table saw or routers. I used a cut strip as a guide, clamping it down on top of the piece to be cut and running the saw along its edge after measuring appropriately. I made sure to glue and then screw all the edges down carefully as I am looking for long term use out of this cabinet.
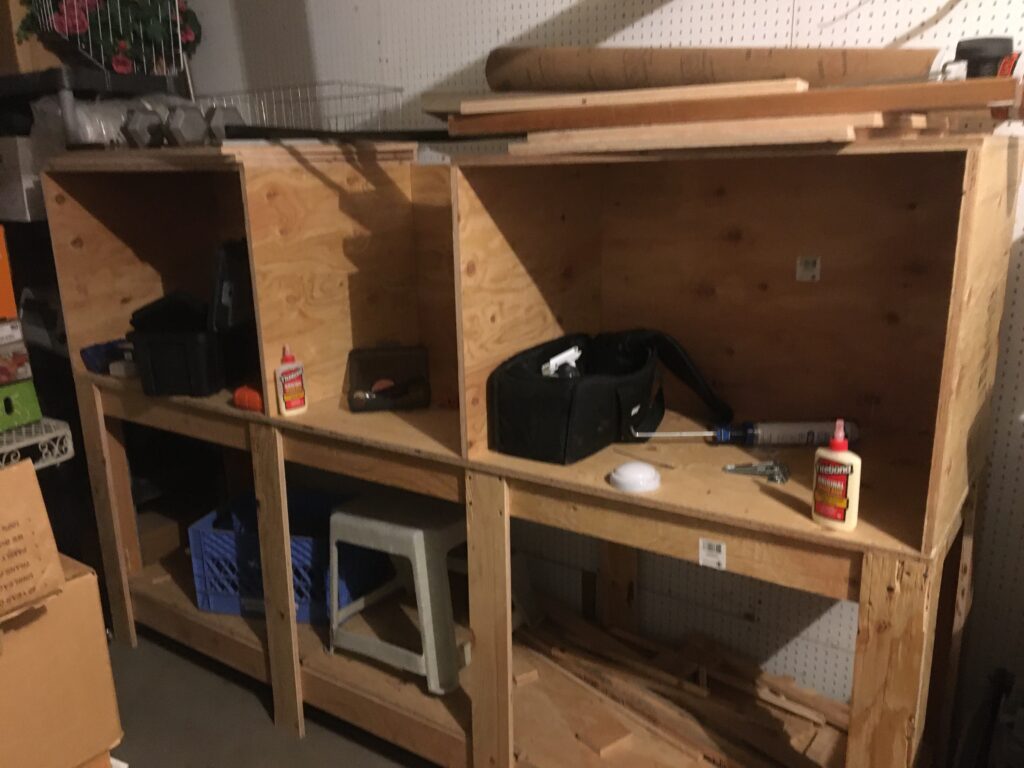
The three bays from left to right will be the 3d printing station, the top of which will have controls, spool holders, and other related equipment. The middle bay will not have top storage. The entire top and front are one piece. This will allow the lids on the resin printers to be lifted. I am still debating whether to cut an area out for the right most bay, where the soldering station will be.
The next step was to paint the interior bays with an intumescent paint. I learned of intumescent paint from NightHawkInLight’s youtube videos on StarLite, a super material that supposedly could withstand atmosphere reentry and nuclear blast temperatures. The intumescent paint creates a carbon foam when heated, pushing the heat source away from and insulating what the paint is coating: wood.
From the start of the project the idea of putting a 3d printer and its heater into a wood enclosure was worry-sum. But I am not as insane as some who have taken heat guns apart and have hung them in their enclosures….
When it comes to the safety ends of things, I decided to spare no expense and go with a three prong attack. The paint will prevent the cabinet itself from catching fire. There will be an automatic extinguisher installed in the ceiling in case it does, and a smoke detector with a signal output. Not only will the detector alert everyone that there is a fire, but the signal can be passed into a special power strip that has a normally on outlet. This will turn off the outlet if a signal is received, and will turn off the ignition source: The printer.
The heater system is very similar to the Praxi controller. It has a different controller, and different layout, but it uses one of the earlier scrapped prototype cases from the Praxi, the same SSR, same cable glands, etc. I was very satisfied that I sat down with only a general idea of what I wanted and was able to scratch build the controller with only a checking to see if the voltages for the control matched what I needed.
I 3d printed wall spacers and used wood screws the permanently mount the controller to the side of the cabinet, leaving the left side of the cabinet a current mess of wires, power strips, and control units.
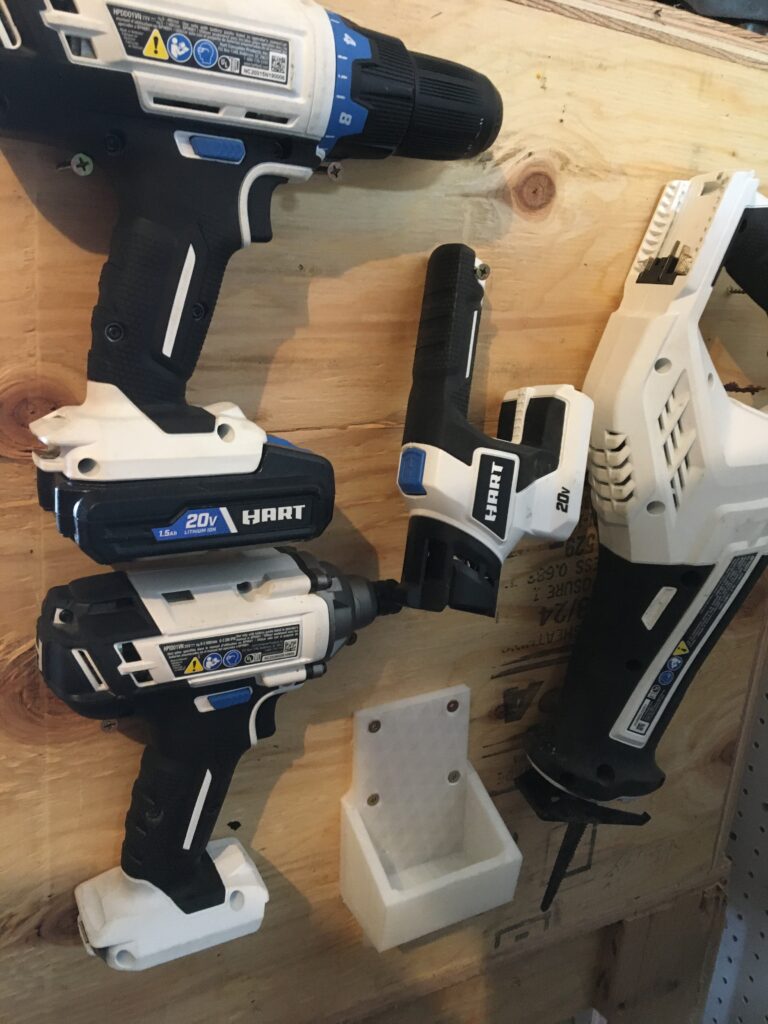
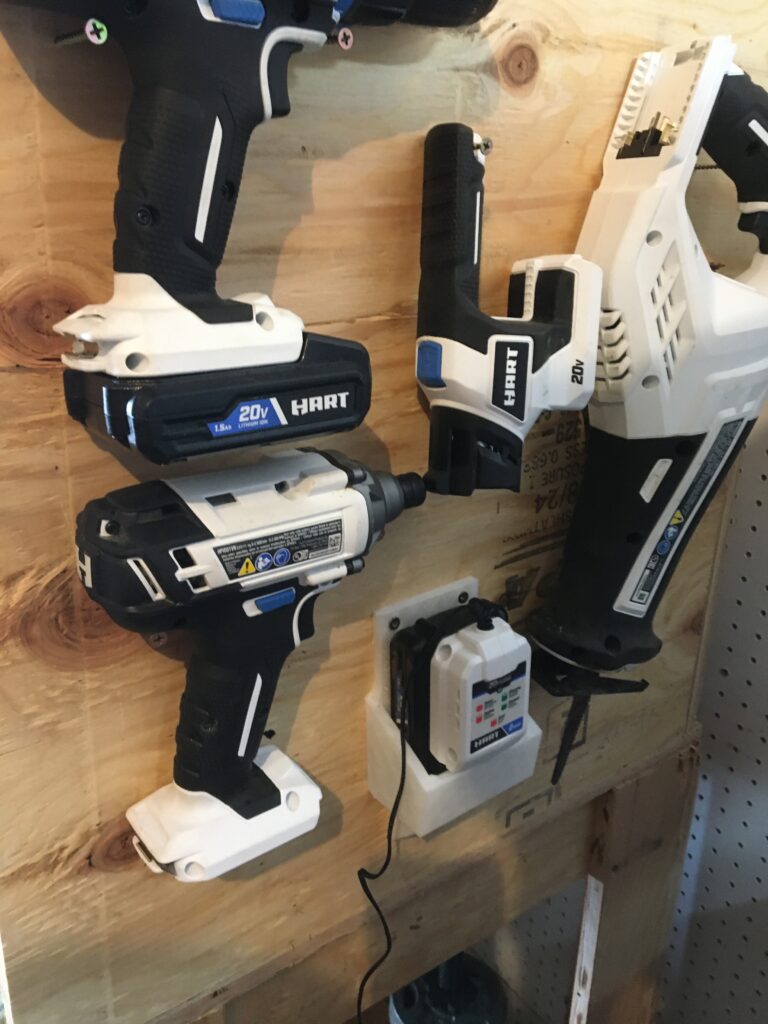
The right side of the cabinet on the other hand is where I am currently storing my power hand tools. Excepting the 3d printed battery holder, the tools are mounted with wood screws. I may 3d print tool holders for each tool to mount to the wall, though the plastic would need to be either petg or abs to withstand the heat without warping over time.